

The goal is to achieve a full participation environment where students make frequent relevant responses throughout a lesson and all students prepare a response to every question or task.
Step 1: Practice
Practice implementing Full Participation Tactics. Refer to the Full Participation Poster to guide you.
If you’re using the Participation Tactics regularly in every class, identify how you can increase your efficacy with the Participation Principles, and implement them with your class.
Login Required!
Please log in to access this module.
Step 2: Film and Upload
Film 3 – 5 minutes of a lesson where you are using Full Participation Tactics (please read video requirements and FAQ below).
Before you film, ensure that:
- You can get the footage off your device, for submission.
- Choose 720p (or lower) film quality as this will produce a file that is not too large. Adjust film quality in the settings of the device as required.
- Direct the camera at where you primarily stand and at the whiteboard/screen – we don’t need to be able to read the screen, but we do need to see what the students see.
- Limit the movement of the camera.
- Most of the time, the footage should record you talking and the student responses, (an occasional quiet voice/answer is ok).
- Students are unidentifiable in the footage (not all students need to be in shot) – it works well if you place the camera somewhere towards the middle/rear of the room and the footage includes backs of student heads.
- If students are identifiable in your footage, ensure you have permission for them to be filmed.
- 1x 3-5 mins footage only. If you film an extended section of your lesson/review, please trim it to the 3-5 mins that you watched to complete your self-reflection.
Please note, we do not have the capacity to review any more than 3-5 minutes of video footage.
Please ensure your footage is in a valid video file format (this includes .MP4, .WMV & .MOV).
If you experience any technical difficulties with your video submission, please contact us as soon as possible at [email protected]. We will assist you in uploading your video in an alternative method.
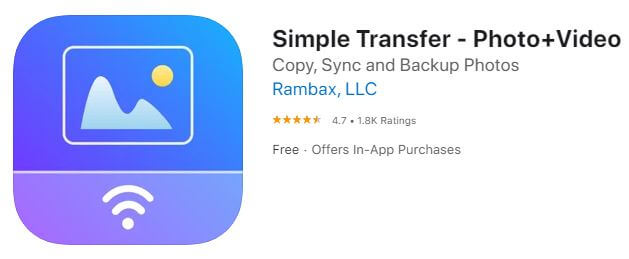
If you filmed with an Apple product, such as an iPhone or an iPad, we recommend an app called ‘Simple Transfer – Photo+Video’ to help you transfer your footage from your device to your computer. From your computer, it should be easy to drag and drop your video file into the dropbox on the LMS.
Simple Transfer provides clear instructions on how to use the app to transfer files from your Apple device to your computer. Please go to the App Store on your device and download ‘Simple Transfer – Photo+Video’ if you have this problem. The link to this app is https://apps.apple.com/au/app/simple-transfer-photo-video/id420821506.
Step 3: Reflect
Watch your video and complete the Self-reflection template (provided below).
Login Required!
Please log in to access this module.